


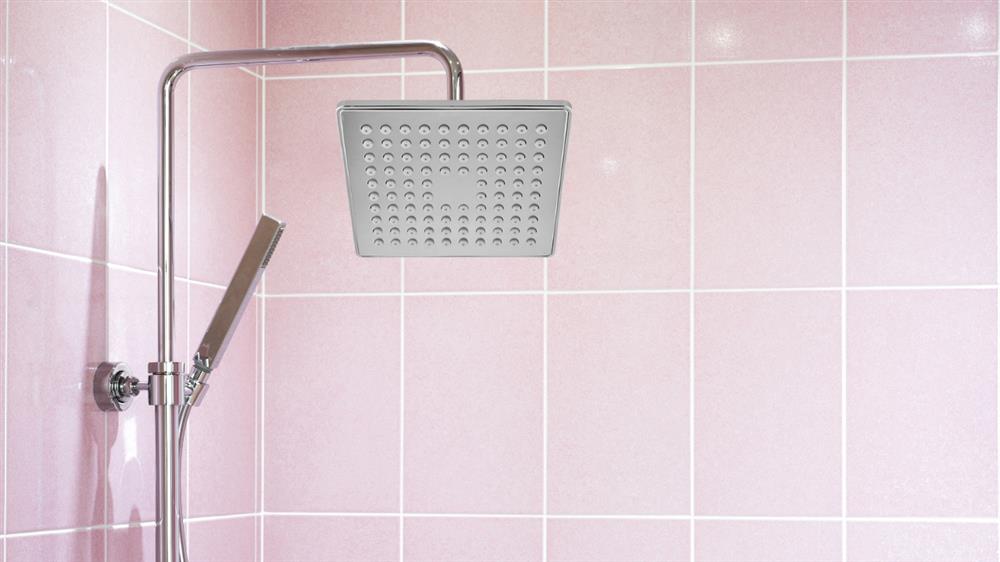
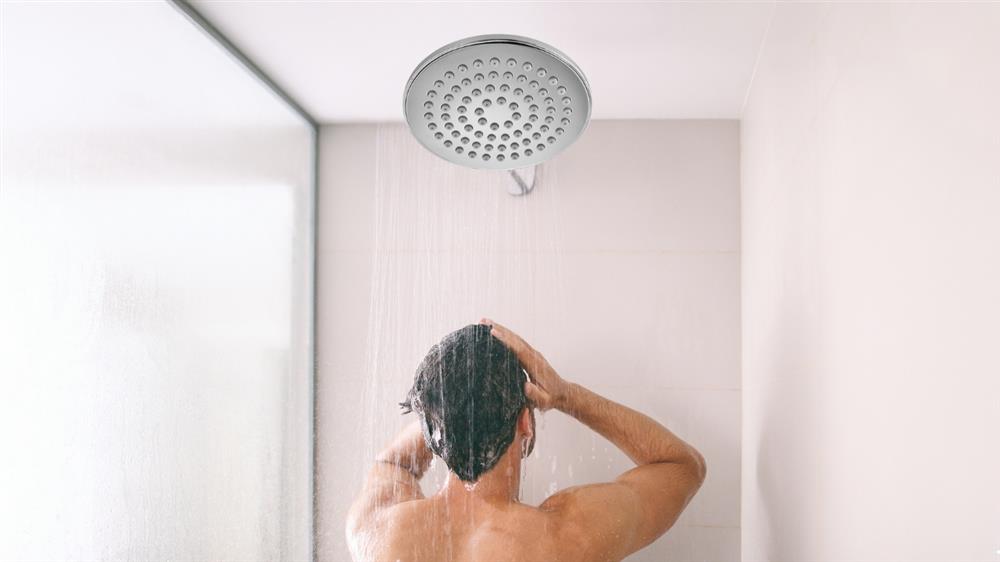
The popularity of rainfall shower heads in modern bathrooms has been attributed to the luxurious and spa-like shower experience they provide. Rainfall shower heads are designed to feel like you are taking a shower under natural rain, having very wide spray nozzles that evenly distribute water on your head and shoulders. The bulky and large horizontal jets of water make the shower more soaking all-body than those given by a traditional showerhead.
Square, round, and rectangular, as well as different sizes, finishes, and spray patterns, are what these heads come in. Different designs include square or round ones that come in chrome, brushed nickel, and oil-rubbed bronze, among others. You can have air-infused pulsing massage or waterfall settings for spray patterns.
This means that instead of your ordinary shower head, installing a rainfall one will give you an opportunity for an easy upgrade. Anyone can do it with the correct tools and some preparation within approximately 30 minutes. It involves having the right tools, following every step strictly during the installation process, and avoiding a few common mistakes.
Tools and Materials Needed
Credits: Canva
Installing a rainfall shower head on your existing plumbing requires just a few basic tools and parts:
- Adjustable wrench
- Teflon tape
- Rag or towel
- Replacement rainfall shower head
- Optional: shower arm pipe extender (if replacing the shower arm)
Ensure that you have turned off the central water supply in your house prior to working so that no water flows. It is also great to have a piece of cloth or towel nearby to catch any leaks or droplets as you take apart and assemble the shower head and shower arm again.
Preparation Before Installation
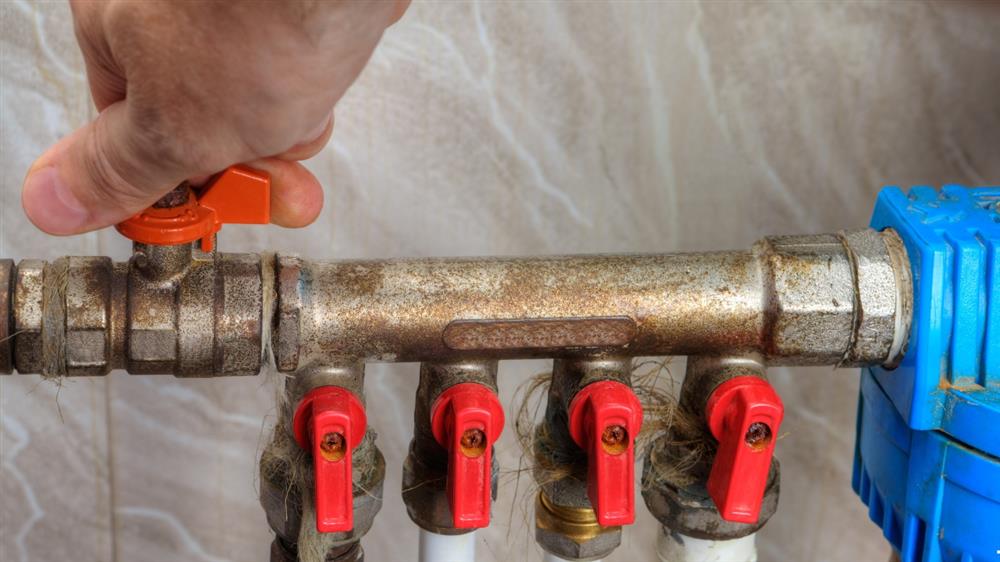
Turn off the water supply.
Credits: Canva
Seek your house’s main water cutoff valve, then turn it right to shut down the entire water supply to the household. In most cases, this is found at the point where the water line enters your home; it could be a basement, crawl space, garage, or utility closet.
Disabling the water on its main valve prevents any possible water spraying out as you remove the old shower head. Keep it in the “OFF” state during the entire installation of the new rainfall shower head.
Gather the necessary tools.
To embark on the shower head installation, gather all the tools you need: a set of adjustable spanners, PTFE tape, another shower head, and a towel. You would also find it useful to have a flashlight close by in case you are working in a dark shower.
Ensure that your adjustable wrench functions well so that you can easily loosen and tighten connections. Also, wrap the threads with Teflon tape to prevent them from leaking. Make sure your new rainfall showerhead is unpacked and ready for installation.
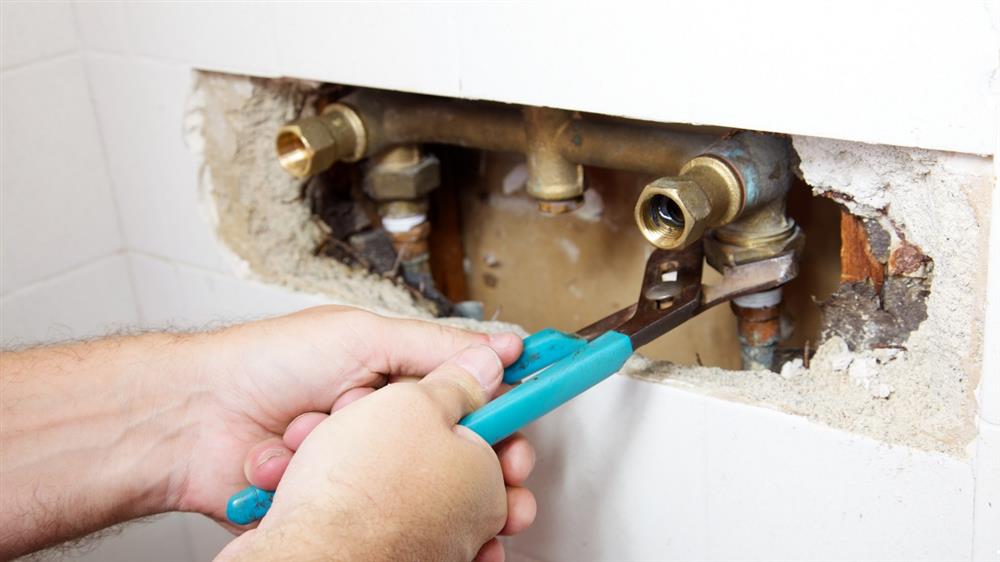
Remove the existing shower head.
Credits: Jaquar
The water supply is turned off, and the next thing to do is take out the existing shower head from the arm. It is all about unscrewing the threaded shower head connection by using your wrench in an anticlockwise direction.
Put a towel below the arm of the shower to trap any residual water that may be present in the shower line once you have removed the previous showerhead. Keep it aside until you are done fixing the new one and testing it.
Step-by-Step Guide to Installing a Rainfall Shower Head
Credits: Canva
Once you’ve gathered your materials and prepped the shower, follow these key steps for properly installing a rainfall shower head:
Step 1: Choose the Right Shower Arm
Your new rainfall shower head should fit directly into your existing shower arm. But if you find out that your new shower head is too large or heavy for the current shower arm, then you are going to need a shower arm pipe extender. A pipe extender will replace the end segment of the shower arm so as to give more support and length.
Take measurements of your new rainfall shower head as well as your current shower arm to establish if you should replace your shower arm or not. In the case of a 6-inch wide or heavier than 5 pounds’, utilise a pipe extender.
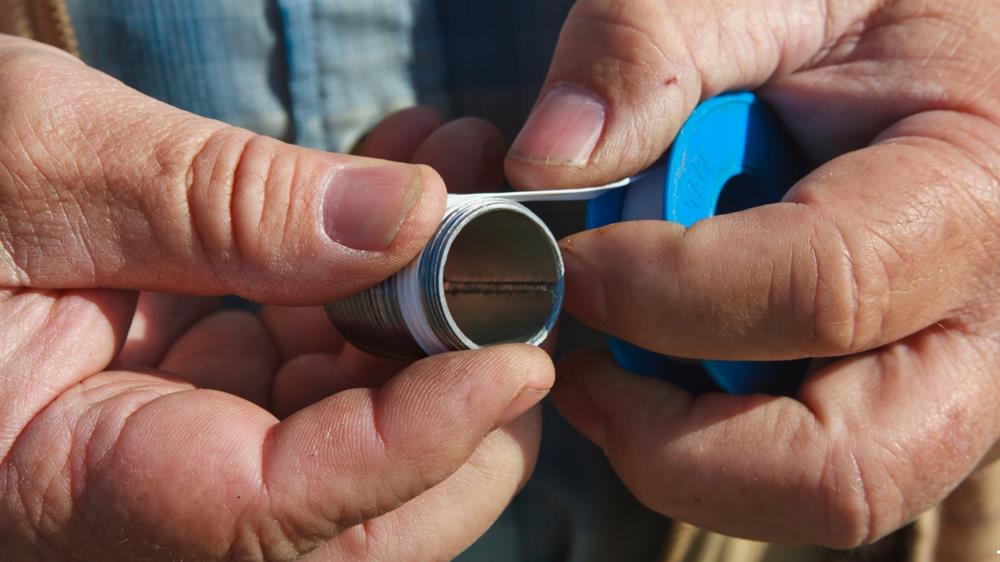
Step 2: Clean the shower arm threads.
If you choose to reuse your current shower arm or add an extender, the exposed threads where the shower head will be connected have to be cleaned. This allows for a tight seal between the Teflon tape and shower head.
Use either a rag or pipe brush to wash off any filth, scum, putty, or previous Teflon tape that could possibly cover the shower arm threads. Then wipe them dry and clean them completely.
Step 3: Apply plumber’s tape

Credits: Canva
Also called Teflon tape, plumbers’ tape helps to create a watertight seal between threaded pipe connections. When applying the tape, hold it against the shower arm threads and wind it around the threads three or four times, moving in a clockwise direction.
Ensure that the tape fits tightly over the threads. For a better sealing effect, it can be stretched slightly during wrapping. The first two threads should not be wrapped.
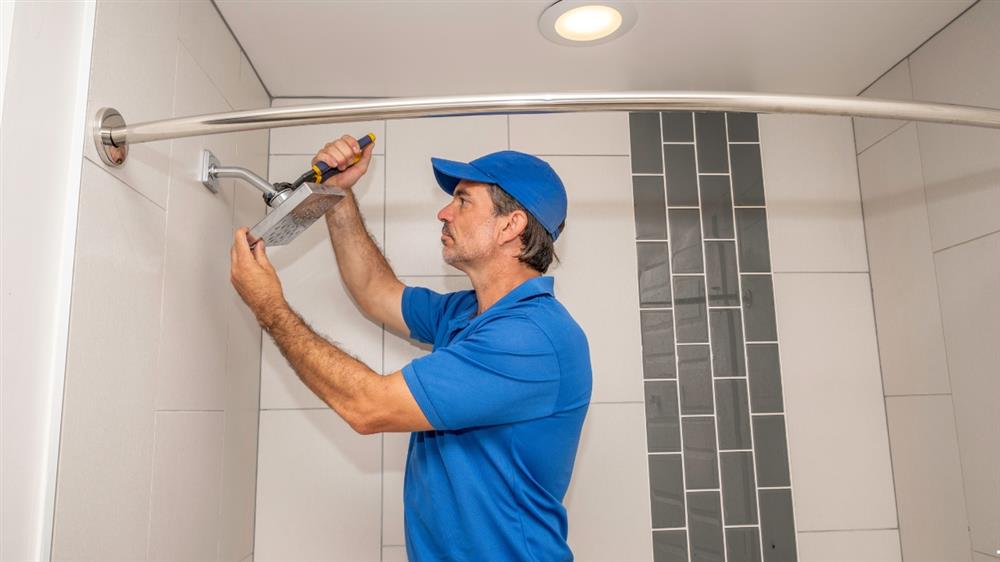
Step 4: Attach the rainfall shower head.
Credits: Jaquar
You are now ready to screw the new rainfall shower head onto the arm by applying Teflon tape. Once it is in place, turn the showerhead clockwise to tighten it.
Make sure you don’t cross-thread, and hold the Teflon tape lightly. Keep tightening until the shower head rests firmly on the arm.
Step 5: Tighten the connections
For watertightness, use your adjustable wrench to complete the tightening of the showerhead. With one wrench, grip the shower arm, and with the other, firmly hold the shower head. Tighten it until it turns beyond finger tight by a quarter rotation.
Do not tighten too much, or you will spoil other parts. It’s only necessary that the connection be tight enough to press down on Teflon tape.
Step 6: Turn on the water and test for leaks.
Credits: Canva
After you completely tighten your new rainfall shower head, go back to your home’s main water supply. Check for any leaks at the connection between your shower arm and the shower head. Tighten it some more.
If it still has leaks, then Teflon tape might have to be replaced or gaskets worn. After no more is leaking, this is the first luxurious bath with a rainfall showerhead! For the next few showers, check if there are no leakages that will occur as a result of using this new head.
Common installation mistakes to avoid
Credits: Canva
While installing a rainfall shower head is straightforward, there are some common mistakes that can lead to problems:
- Forgetting to shut off the main water supply: This causes water to spray out when removing the old shower head.
- Not cleaning and drying the shower arm threads: This prevents the Teflon tape and shower head from sealing properly.
- Applying Teflon tape incorrectly—wrapping tape in the wrong direction or stretching it too tight—can actually cause leaks.
- Overtightening connections: Overtightening with tools can crack the shower head or arm. Hands tighten first, and then use light pressure with wrenches.
- Using excessive plumber's putty: Putty should only be used sparingly on shower arm threads. Too much can prevent proper sealing and cause leaks.
- Not testing water pressure beforehand: A rainfall shower head requires adequate home water pressure for optimal performance.
Taking it slow and following each step carefully will help avoid these mistakes during your rainfall shower head installation.
Maintaining Your Rainfall Shower Head

Credits: Canva
Regular cleaning tips
Like any shower head, rainfall shower heads need occasional cleaning to prevent mineral buildup and clogs. Here are some simple maintenance tips:
- After every use, you have to rub the shower head’s faceplate and nozzles clean to prevent scale from forming.
- Soak the shower head in a mixture of vinegar and water each month so as to wash it and get rid of clogged holes in it. Thorough rinsing is necessary.
- To remove resistant deposits from the nozzles, use a non-abrasive cleaner with a soft brush. Do not use abrasives.
- Clean up any debris that may be present in flow restrictors or filters. If there is any need, soak them in vinegar.
- Check gaskets and washers on shower heads regularly for wear. This will stop leakages.
Preventing mineral buildup
It is hard water that is responsible for the ongoing mineral buildup. You may want to have a water softener installed in order to reduce scale and sediment. Additionally, use a showerhead filter made especially for mineral and particulate matter removal.
If you wax the surface of your shower head with car wax once a month, you will easily remove mineral deposits before they become heavy. To keep your rain shower head functioning like new, follow these steps to ensure it remains clean.
Conclusion
One of the simplest and cheapest ways you can enhance your shower is by installing a rainfall shower head. With some ordinary tools and following the main steps, the process of fitting this device is simple. You may have a luxurious spa-like shower in no time!
Indeed, the essential advice includes stopping water flow at the central valve, thoroughly washing down and priming the shower arm, wrapping threads with Teflon tape, not tightening connections too much, and checking for drips. This will make way for many years of leak-free pleasure from your rain-fall head if you take time to double-check every step.
FAQ
Can I install a rainfall shower head in any shower?
Most standard showers can accommodate a rainfall shower head with little to no modifications. As long as your existing plumbing has a shower arm that extends from the wall, a rainfall head can usually be installed in place of your fixed shower head. Extenders can adapt shower arms that are too short.
Do I need a plumber to install a rainfall shower head?
In most cases, you do not need professional help to install a rainfall shower head. They are designed for straightforward DIY installation. With some basic tools and following the instructions, you can replace your regular shower head with a rainfall model in under 30 minutes.
What is the best height for a rainfall shower head?
For the optimum shower experience, install your rainfall shower head so that it sits approximately 6 to 7 feet above the floor of the tub or shower base. This allows for full body coverage for most users. For reference, standard shower heads sit 7 to 8 feet high.
How do I prevent leaks after installation?
To prevent leaks, ensure you wrap the shower arm threads properly with Teflon tape prior to installation. Tighten the shower head by hand first, and then give an extra 1/4 turn with a wrench; do not overtighten. Check for leaks with the water on, and tighten further if needed.