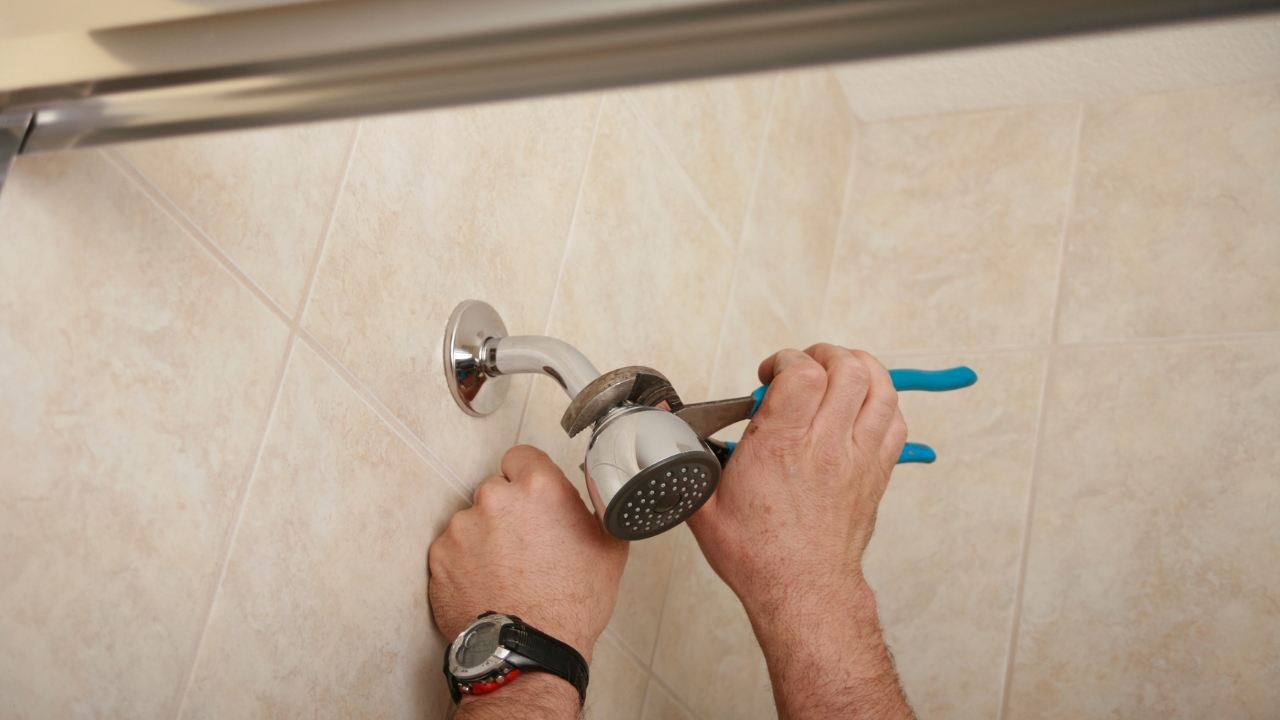
Installation of a shower in your bathroom may seem like an easy home remodelling project, but there are some specific mistakes that are typically made during the installation. Avoiding these mistakes is important to ensure that your new shower functions correctly, remains waterproof and lasts for years.
Every stage of the installation from preparing the shower base to choosing compatible fixtures requires caution. Any attempt to cut corners or hasten through results in future problems such as leaks, mildew growths among others. Prepare ahead by finding out about these common installation errors so as to protect your investment in a new shower.
With some basic know-how about correct installation techniques, patience at each step and a little care, you can install a bathroom shower that will last you decades. This guide explains the seven major pitfalls when it comes to installing showers so as to recognize them when they appear.
Common Mistakes to Avoid During Shower Installation
Ignoring Water Pressure Requirements

Credits: Canva
One of the first considerations when installing a new shower is ensuring your home’s water pressure can support the shower head you choose. Shower heads have a recommended range of water pressure they require to function properly. Standard shower heads need 20-80 PSI to deliver their rated flow volume. Low-flow shower heads can operate on lower pressure down to 10 PSI.
If your home’s water pressure is too low, the shower spray will come out weak, intermittent, or uneven. Water pressure that is too high can put strain on the shower head and its internal components, leading to premature wear, leaks, and breakdowns.
Before purchasing your shower head, use a pressure gauge to check the static and flowing pressure of your home’s water supply lines. Select a shower head rated for that pressure range. If your home's pressure is lower than the shower head requires, you may need to install a booster pump to increase water pressure.
Poor Waterproofing

Credits: Canva
Preventing leaks is a crucial goal when installing a shower. Water seeping into walls or under the shower pan can cause extensive damage and mold growth. Careful waterproofing techniques are required to create a sealed shower enclosure.
Common waterproofing mistakes include:
- Not applying waterproof membranes beneath the shower pan and up the walls.
- Allowing gaps between waterproof liners on seams and joints.
- Forgetting to install flashing to divert water at corners.
- Using the wrong waterproofing products for the shower materials.
- Failing to properly slope the shower floor toward the drain.
- Not sealing all plumbing penetrations through the waterproof barrier.
Take the time to thoroughly waterproof the entire shower interior using the appropriate products and techniques. Inspect for any gaps, then test for leaks before closing up the walls. This meticulous waterproofing is the best way to prevent costly moisture damage.
Incorrect Shower Head Placement

Credits: Canva
Most people install the shower head directly over the center of the shower floor area. However, this is not always the ideal position. Mounting the shower head slightly offset from the center can deliver better spray coverage.
For a typical rectangular shower stall, install the shower head about 10-20 inches from the corner diagonal from the valves and controls. This allows the water to spray across the entrance area, leaving enough room to comfortably move around under the water stream.
In custom showers, experiment with different heights and off-center placements to find the optimal position for your unique space. Just be sure the shower head is mounted at the right height for the primary users, which is typically around 74 inches from the floor.
Skipping Professional Help When Needed

Credits: Canva
Some ambitious DIYers take on the complete shower installation solo. But for many homeowners, certain aspects of the project are best left to the professionals. Knowing your limits and when to call in an expert can prevent mistakes.
Plumbing tasks like installing new pipes or reworking drain lines often require a professional plumber. Custom tile work around complex shower niches and benches may demand an experienced tile setter. If structural changes are needed to the framing, consult a contractor.
Even when doing most of the installation yourself, having a plumbing or tile pro handle tricky parts of the project can ensure it is done right. The cost of hiring help for specialty tasks is worthwhile to avoid expensive problems later on.
Neglecting Ventilation

Credits: Canva
It is important to prevent moisture buildup when showering, so adequate ventilation needs to be part of your new shower design. Building codes actually require exhaust fans in shower rooms to deal with all the humidity produced.
Insufficient ventilation allows lingering moisture to be absorbed into shower materials. This moisture can promote mold growth in drywall, damage certain types of tile and grout, and lead to peeling or discoloration of surfaces over time.
Install a powerful exhaust fan ducted outside, rather than a recirculating fan unit. Also, leave gaps at the top and bottom of an enclosed shower rather than fully sealing it off. These steps properly exhaust humidity and allow the shower area to fully dry out between uses.
Inadequate Sealant Application

Credits: Canva
Caulk and grout are not enough on their own to make showers watertight. Sealant is required at all joints and seams during installation to prevent moisture entry. Common areas missed when sealing showers include:
- Between the wall boards and shower pan flange.
- Around plumbing penetrations through the shower walls and pan.
- Between the walls and base of the shower niche.
- Around built-in accessories like shelves, benches, and soap holders.
- Where the bottom row of wall tile meets the shower pan.
- At the top edge of the wall surround where it meets the ceiling.
Be meticulous when sealing a shower during installation. Apply a continuous bead of flexible, waterproof sealant at all joints, seams, and edges according to the manufacturer’s directions. Failure to properly seal the shower can allow leaks even if everything else is done right.
Choosing Incompatible Fixtures

Credits: Canva
When selecting fixtures for your new shower, make sure they are designed to work together. The shower head, tub spout, and valves all need to match in their connections, water volume, and pressure requirements.
Mixing different brands or lines of shower components with mismatched ratings or connections types frequently leads to problems. For example, combining a high-flow shower head with low-flow valves results in weak spray force.
Purchase your shower head, valves, and tub spout from the same manufacturer and product line. Also confirm the connections and water requirements are compatible. This ensures optimal function and performance from your new shower system.
Seeking Professional Advice When Needed
Some key takeaways to avoid common shower installation mistakes include:
- Check your home's water pressure and choose a compatible shower head.
- Take the time to properly waterproof the entire shower interior.
- Experiment with shower head placement for optimal coverage.
- Hire professionals to handle tricky plumbing, tile, and framing tasks.
- Ensure adequate moisture ventilation with an exhaust fan.
- Meticulously seal all seams, joints, and edges during installation.
- Select shower fixtures designed to work together.
While you can DIY much of the process, don't hesitate to consult plumbers, contractors, and tile professionals when needed. Their expertise can help you achieve successful results and avoid regrets down the road. Investing in a quality new shower is worth taking the time to get all aspects of the installation right.
Conclusion
Installing a shower in your bathroom provides years of enjoyable refreshment and convenience. By learning about the most common shower installation mistakes, you can avoid these pitfalls and ensure your new shower operates perfectly for the long run.
Pay close attention to critical steps like waterproofing, plumbing prep work, ventilation, sealant application, and compatible components selection during the process. Seeking professional help with challenging aspects of the project can also prevent errors.
With some patience and care taken at every stage, you can install a high-quality shower yourself and save on labor costs. Just be sure to thoroughly research proper techniques and take a meticulous approach. Avoid rushing through any part of the process.
Your attention to detail will pay off for decades to come in the form of a fabulous new shower that provides an invigorating, refreshing, spa-like experience each time you step in. Knowing the right methods for shower installation will make this important home improvement project a success.
FAQs
- What kind of shower base is easiest for DIY installation?
Easiest shower bases to install yourself are pre-formed and pre-slopped foam or acrylic shower pans; you only have to add mortar on the base, place it on its position and attach drain line. Another type that is easy to do alone is fiberglass stall units.
- What mistakes lead to leaks in tiled shower walls?
These include not properly waterproofing, failing to seal seams between backerboard panels adequately around plumbing penetrations and loose tiles or uneven grout lines.
- Should an exhaust fan be installed inside or outside the shower area?
For proper moisture removal, place your fan ducting outside the main area where people take showers to extract humidity enveloping the whole toilet space rather than just keeping away water vapour from a square cubicle which an individual bathes within.
- What is the best way to test for leaks in a newly installed shower?
Fill your sealed pan with water and let it stand still for twenty four hours before checking if there is any excess water at the bottom due to leaking. Look at plumbs plus walls whether they are moist or have drips penetrating inside them.
- How soon can I start using my newly tiled shower after grouting?
Before exposing it to water let all grouts solidify completely within seventy two hours; some particular types may need more curing moments as per their instructions.
- What kind of sealant is best for shower installations?
Wet environments are well suited for flexible silicone sealants. You should consider the mold-resistant products that are good on stone, tile, glass and metals. Do not use latex-based caulks.
Concluding Statement
Avoiding the usual pitfalls in installing a new shower will preserve your investment and avoid expensive leaks or other problems. Make sure you understand how to do things correctly, have compatible parts, waterproof intensively enough, provide adequate ventilation, seal all seams meticulously and if necessary engage professionals. You will be rewarded for your patience and care throughout the entire installation process with an amazing high functional shower.


