

Installing a new bathtub can completely transform your bathroom. While it's an involved project, with the right planning and preparation, you can install your dream bathtub successfully. Here we'll walk through the key steps for proper bathtub installation so you can enjoy your new spa-like soak space.
Choose the Ideal Bathtub for Your Bathroom
The first step is selecting your perfect bathtub model. Consider:
Type - Alcove fit, freestanding, corner, clawfoot? Match to your space and style.
Size - Measure carefully. Allow 30” clearance in front for entry/exit. Confirm dimensions work.
Material - Durability and aesthetic needs? Acrylic, porcelain, stone, copper?
Features - Jets, air bubbles, chromatherapy lights? Functional or purely soak focused?
Price - Set a realistic budget. Premium materials cost more.
Take time to find the ideal bathtub tailored to your needs and bathroom design before purchasing. This will make installing your dream model smooth and successful.
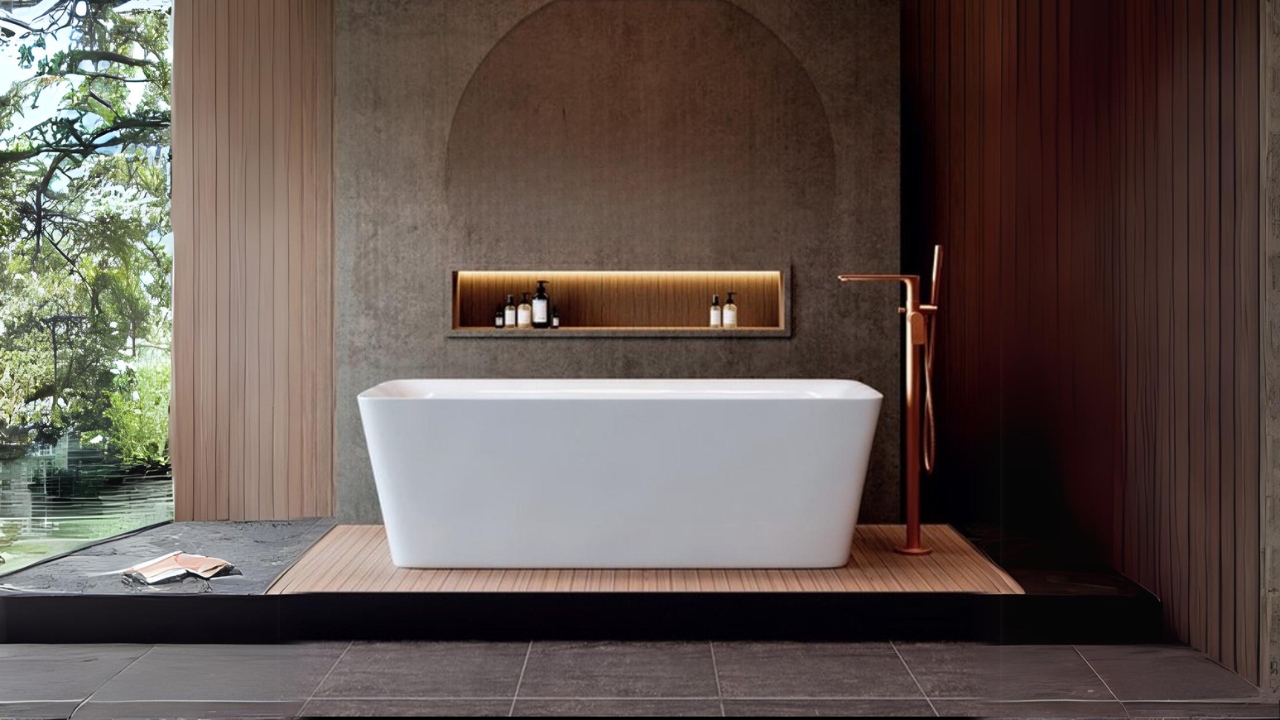
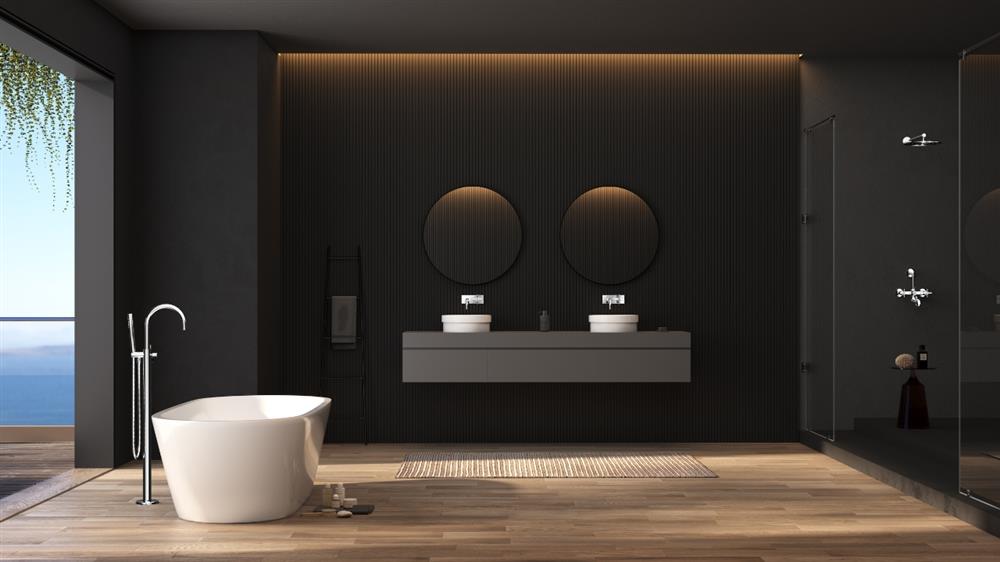
Prepare the Installation Space
Credits: Jaquar
To get your bathroom ready for your new bathtub:
Clear the Area - Remove existing bathtub/shower if replacing. Take out nearby items to open up space.
Inspect Subfloor - Ensure subfloor is level and can structurally support a full bathtub weight when filled with water and bather.
Plumbing Access - Confirm there's an accessible water supply and drain line for connecting the tub. Open walls if needed.
Electrical - For tubs with air jets/whirlpool features, ensure an GFCI outlet is nearby to plug in the motor.
Ventilation - Exhaust fans are advised to control humidity from steamy soaks and prevent mold growth.
Preparing the install area allows smoothly bringing in and hooking up your bathtub.
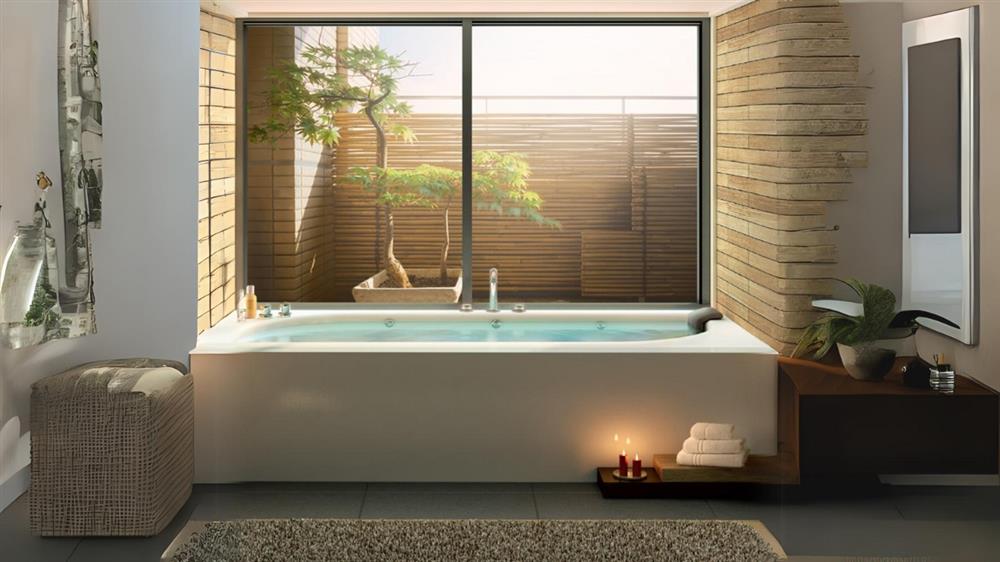
Choose Your Installation Configuration
Key bathtub installation setups include:
Alcove Tubs - Fits partially into a 3-walled alcove or corner. 1 finished side remains exposed. Surround other sides with tile or other waterproof finishing.
Freestanding Tubs - Sits fully exposed in the room, accessible from all sides. Requires floor draining system.
Drop-In Tubs - Lowered into an opening in the floor and self-supporting. Rim remains visible at floor level.
Undermount Tubs - Attached underneath and sealed to the counter deck for a sleek contemporary look.
Clawfoot Tubs - Decorative antique style with ball-and-claw feet. Must attach to floor and wall for support.
Choose the configuration that works best with your existing bathroom layout and design style.
Purchase Essential Plumbing Supplies
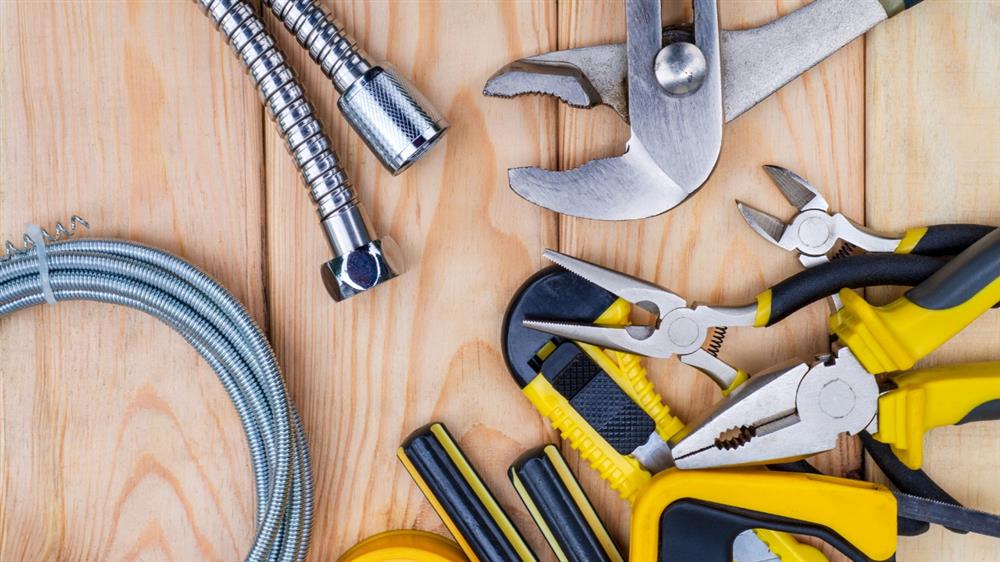
Credits: Canva
Gather key plumbing supplies including:
- Pipes, PVC connectors, elbow joints for drainage
- Bath waste and overflow gasket kit
- Tub pop-up drain kit and overflow trim piece
- Flexible water supply risers, shutoff valves and connectors
- Teflon plumbing tape
- Caulk, adhesive and sealant
Having materials ready ensures efficient installation once your tub arrives. Shop from a reputable plumbing supply retailer.
Consider Hiring a Professional Installer
Bathtub installation takes skill. For complex projects, consider hiring a professional plumber familiar with local building codes. Pros can:
- Efficiently adapt plumbing lines to fit your tub
- Make modifications for difficult retrofits into existing spaces
- Have lifting equipment and help for large tubs
- Ensure proper drainage slope and leak proof seals
- Provide post-install support if issues arise
While pricier, pro install provides peace of mind that your dream tub is handled correctly.
Step-by-Step DIY Bathtub Installation
Credits: Jaquar
If tackling bathtub installation yourself, follow these key steps:
- Position the Tub
Place the tub in the exact desired position. Mark locations for plumbing cutouts on the floor for drain and water supply.
- Install Drain Assembly
Following manufacturer instructions, attach waste and overflow drain kit. Apply plumber's putty around the strainer for watertight seal to tub. Connect PVC drain pipes.
- Connect Water Supply Lines
Attach flexible tubing supply lines to hot and cold shut-off valves. Ensure compression fittings are tight.
- Level the Tub
Use a level on all sides of the tub to ensure it is perfectly level. Shift beneath the tub base if needed. A sloped tub will lead to cracking over time.
- Secure the Tub
For freestanding tubs, no attachment is needed. For other install types, use adhesive, anchors, or brackets to firmly secure the tub according to its load-bearing structural points.
- Make Plumbing Connections
Thread drain tailpiece into waste line. Connect supply lines to faucet valves. Double check fittings for leaks and retighten if needed. Turn on the water supply and test.
- Finish Surround Areas
For alcove tubs, apply waterproof adhesive cement backerboard around sides where tile will be installed. Finish exposed front with preferred surround materials.
With good planning, proper materials, and careful leveling, even first-timers can get DIY bathtub installation right. Enjoy your new dream bathing oasis!
Common Bathtub Installation Challenges and Solutions

Credits: Jaquar
While bathtub installs are very doable, a few trouble spots can arise. Here are some common issues and fixes:
Drain in Wrong Position
The drain cutout on the tub does not align with the home's drain pipe position.
Solutions:
- Adjust drain pipe position if flexibility allows.
- Use elbow joints and extensions to offset drain over.
- Choose a customizable drain kit with swivel elbow options.
Plumbing Lines Don't Reach
The existing plumbing line distances are too far from the planned tub install position.
Solutions:
- Use longer flexible supply lines for hot and cold water.
- Relocate supply valve position on wall to be closer.
- Add tub spout on wall with supply lines vs. on tub.
Tap and Valve Connections Don't Match
Tub faucet holes and supply valve sizes are misaligned.
Solutions:
- Use adapter fittings to connect supply lines.
- Replace old valves with compatible compression or threaded sizes.
- Replace tub filler unit with correctly sized version.
Tub Isn't Level
Improper installation causes the tub base to slope to one side.
Solutions:
- Remove tub and use shims to level subfloor support.
- Shim beneath the tub frame or feet with composite shingles.
- Adjust adjustable tub feet where present.
With clever plumbing adaptations and refitting, most install issues can be overcome.
Ensure Proper Bathtub Support
Proper structural support prevents a filled tub from crashing through the floor. Ensure:
- Subfloor is sturdy, level, and not weakened. Reinforce if needed.
- Tub feet have sufficient surface contact area for the tub's weight.
- Anchor feet are secured to structural framing with lags and washers.
- Wall studs or surrounds provide weight support if not freestanding.
- Floor is designed to hold thousands of pounds of weight based on tub size.
Don't overlook support needs - it can lead to disastrous, dangerous failures. Hire contractors for upgrades if the existing flooring is inadequate. Safety first!
Focus on a Watertight Seal
Credits: Jaquar
Prevent leaks from a poorly sealed tub. Ensure:
- Plumber's putty provides a complete seal between drain strainer and tub.
- Gaskets are properly placed between all drain and overflow fittings.
- Quality acrylic caulk seals all joints and seams around the tub perimeter. Avoid gaps.
- Anti-fungicidal silicone seals the joint between tub and tile or walls.
- Supply line compression fittings are tight and pipeline threads properly taped.
- Drain pipes have proper slope and pooled water doesn't stand.
Meticulous sealing is vital for preventing moisture damage and mold growth underneath your new bathtub over time.
Add Finishing Touches
Final touches complete your bathtub installation:
Caulk - Caulk all joints between tub and walls/tiles with waterproof acrylic caulk.
Seal - Apply clear silicone sealant where the tub meets walls and floor.
Adhesive - Adhere tub surround backerboard or facing securely to studs.
Faucet - Attach tub filler and showerhead if not already installed.
Cove Base - Run baseboard molding around gaps between tub and flooring.
Paint - Paint unfinished tub skirt and any accessories like trays to match existing decor.
Complete the details for a polished, finished look that highlights your dream bathtub.
Maintain Your Bathtub Properly

Credits: Jaquar
Keep your new bathtub in tip-top condition:
- Clean after each use with a mild non-abrasive cleaner. Avoid harsh chemicals.
- Apply resealers and protectants periodically based on tub material.
- Use a soft sponge or microfiber cloth to prevent surface scratches.
- Descale jets and wipe down shower door tracks to prevent buildup.
- Immediately wipe spills and finishes to prevent staining.
- Check caulk seals and reseal as needed to prevent moisture penetration.
- Consider tub liners or cushions to protect surfaces from daily wear.
With proper care, your bathtub can stay looking brand new for years of enjoyment. Follow manufacturer maintenance tips.
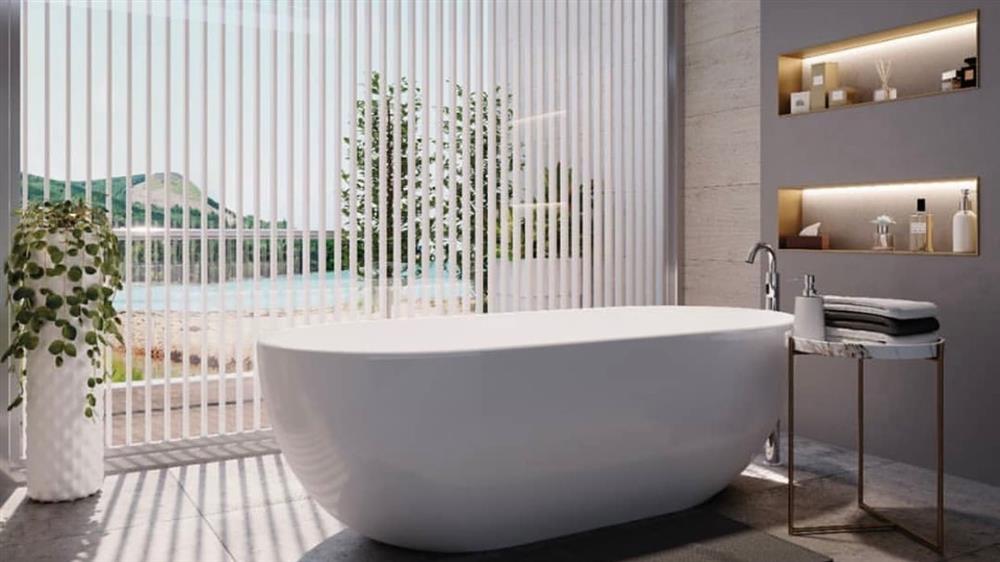
Jaquar's Range of Luxury Bathtubs Brings Sophistication to Any Bathroom
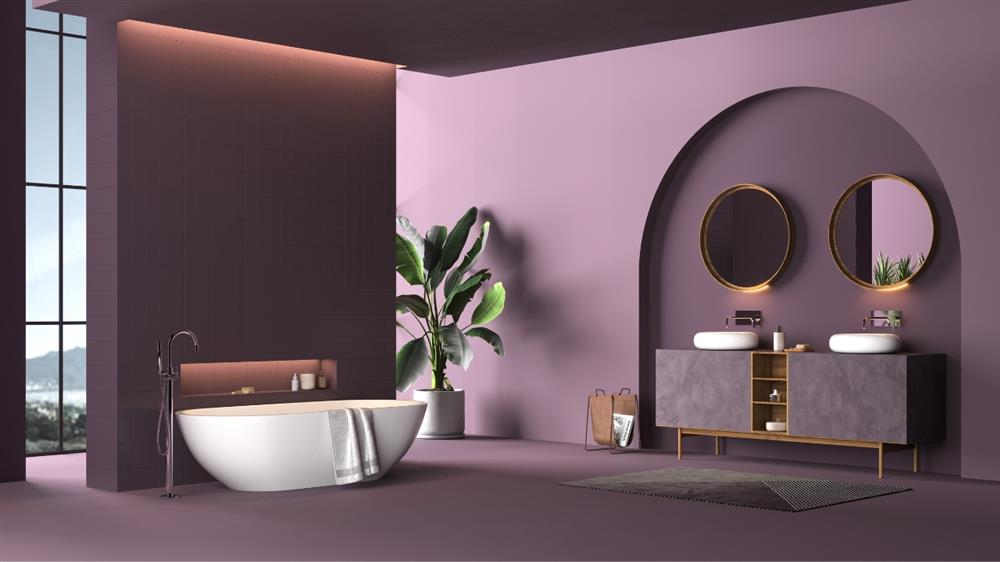
Credits: Jaquar
When selecting a new luxury bathtub, explore the beautifully designed options from Jaquar. Jaquar bathtubs are meticulously constructed from the finest materials to provide a stunning focal point enhancing any modern bathroom.
Jaquar offers freestanding tubs like the elegant oval Aria tub handcrafted from the highest quality acrylic solid surface.
Along with varied styles, Jaquar tubs provide practical innovations like efficient drain systems. With strong yet lightweight acrylic materials and advanced engineering, Jaquar ensures their bathtubs deliver reliable performance for years while adding sophistication to your bath.
Let one of Jaquar's skillfully designed bathtubs elevate your bathroom into a private luxury spa space. Browse the luxury collections online today to find your perfect model!
Conclusion
While installing a bathtub requires planning and some work, you can successfully upgrade to your dream model with the right techniques. Focus on structural support, watertight seals, level installation, and finish details for optimal results as a DIYer. And don't forget to relax and soak once your new tub is in place! With the proper installation approach, you can minimize hassles and maximize years of bathing bliss.